
UEFI Features
GIGABYTE bundled the latest version of their UEFI (Unified Extensible Firmware Interface) implementation with the X299 AORUS Gaming 3 motherboard. The UEFI offers full keyboard and mouse support while using the BIOS pages. By default, the user sees the Easy mode interface when entering the UEFI. The Classic mode screens accessible via the Classic button at the upper right corner of the screen or by hitting the F2 function key. Classic mode screens can be set for the default user interface via the UEFI BIOS tab as well.
GIGABYTE's UEFI is both responsive and easy to use with almost no lag or questionable click-space evident anywhere. The UEFI is designed in an intuitive manner so that both novice and advance users can quickly find what they are looking for. The Easy Mode screen lays out everything in a highly readable format, while the Classic mode tabbed layout displays as you would expect from a traditional BIOS. GIGABYTE also gives you the ability to taken screen captures from within the BIOS by pressing the F12 key with those screen-caps saved in a 1024×768 bitmap format to an attached USB device.
UEFI Notable Features
GIGABYTE continued to revise their UEFI with the X299 motherboard series. The UEFI splits its features across two modes – Easy mode and Classic mode. Easy mode displays various system information and statistics in a tile interface while the Classic mode interface is more reminiscent of the traditional tabbed layout. GIGABYTE enhanced their UEFI with a graphical fan tuning interface, a full featured LED configuration interface (RGB Fusion), a graphical BIOS flash interface, and several functional enhancements specific to the Skylake-X and Kaby Lake-X processor lines.

Easy Mode interface
The Easy Mode interface organizes system data and settings into tiles across the page in an easy-to-read manner for those users who do not want to be bothered with the labyrinth of the Classic mode tabbed interface. Most commonly used settings, including boot sequence, EZ OC, and Smart Fan 5, are readily accessible from within the Easy Mode page.

Classic mode interface
The Classic mode interface offers advanced users access to the more traditional tabbed interface with its logically grouped system settings and configuration features. GIGABYTE enhanced this interface with popout side and bottom menus. The right side popout menu displays real-time system statistics, including CPU, memory, and voltage settings. The bottom pop out menu displays a quick menu interface for accessing Easy Mode, the UEFI language settings, Q-Flash, and Smart Fan functions.

Q-Flash settings page
The Q-Flash settings page gives the user a GUI for updating the board's BIOS as well as saving the current BIOS to an attached USB device. The Q-Flash configuration page is accessed by clicking on the Q-Flash button in the pop out menu within the Classic mode interface, the Q-Flash button in the upper right corner of the Easy Mode interface, or pressing the F8 function key.

Smart Fan 5 configuration page
The Smart Fan 5 configuration page allows for graphical configuration of fan operation based on predefined threshold levels. The page offers an easy to user visualization with settings available for setting tiered fan speeds based on tied temperature thresholds, as well as temperature-based warning and fan fail warning configuration. The Smart Fan 5 configuration page is accessed by clicking on the Smart Fan button in the pop out menu or clicking the Smart Fan 5 Settings link on the M.I.T. tab within the Classic mode interface, or the Smart Fan button in the upper right corner of the Easy Mode interface.

Classic mode, Save & Exit tab, Save Profiles popup

Classic mode, Save & Exit tab, Load Profiles popup
GIGABYTE allows for storing up to eight UEFI profiles through the Save Profiles and Load Profiles functions within the Save & Exit tab in the Classic mode interface. The saved profiles contain all user configured settings from the UEFI, and can be saved to or restored from any attached storage device. The Save Profiles popup can be accessed by pressing the F3 function key. The Load Profiles popup can be invoked by pressing the F4 function key.

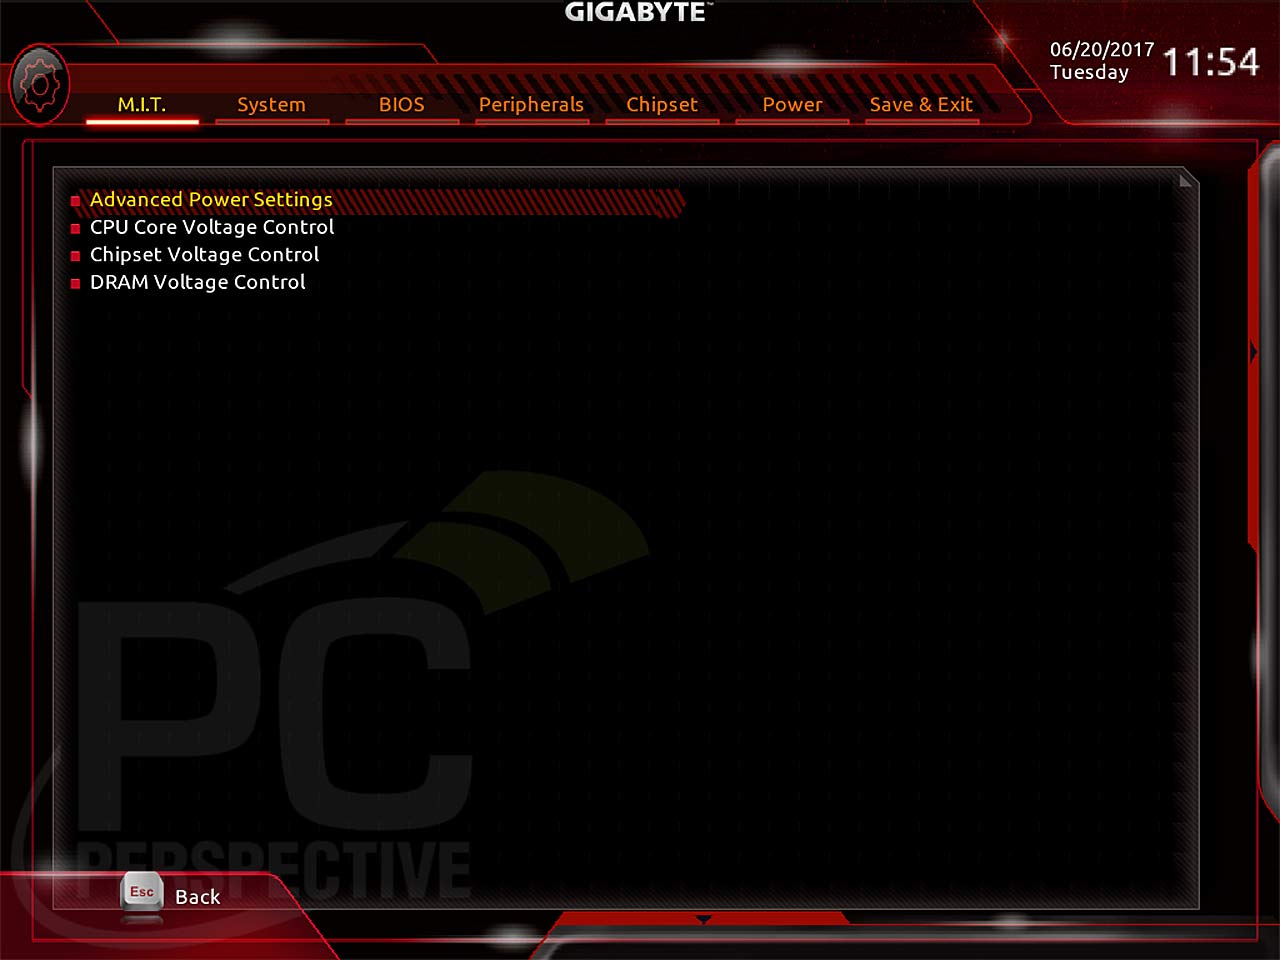
Classic mode, M.I.T. tab, Advanced Frequency Settings page
The Advanced Frequency Settings page accessed from the link on the M.I.T. tab houses the settings controlling the CPU and memory ratio settings. GIGABYTE enhanced this page by including bus speed settings for the PCIe bus, allowing for independent PCIe bus frequency setting from that of the CPU BCLK frequency.

Classic mode, M.I.T. tab, Advanced Frequency Settings page, Advanced CPU Core Settings page
The Advanced CPU Core Settings page, accessed via the the link on Advanced Frequency Settings page, contains Expert-level CPU settings, including the Flex Ratio and Turbo ratio control settings. Introduced with the Intel X-series processors were the AVX Offset and AVX 512 settings, giving the user the ability to reduce the CPU core ratio when running programs using the AVX and/or AVX 512 instruction sets. This is to reduce processor heat since AVX processing is some of the most processor intensive operations. The Turbo Residency Tweak LUTX settings allow for user configuration of the Turbo residency settings. The CLR (MESH) Ratio settings configures the core interconnect bus frequency. Intel replaced their Uncore / Ring bus with a Mesh-based architecture with the X-series processors.

Classic mode, M.I.T. tab, Advanced Frequency Settings page, Advanced CPU Core Settings page continued

Classic mode, M.I.T. tab, Advanced Frequency Settings page, Advanced CPU Core Settings page continued
The Turbo Per Core Limit Control settings allow for per core ratio ceilings when Turbo mode is active. The Intel(R) Turbo Boost Max Technology 3.0 setting controls the Turbo Boost 3 technology built into the X-series processors, allowing for two cores to run at speeds faster than the others under high utilization scenarios. Similarly, the Intel(R) Speed Shift Technology allows for the cores to run faster and ramp up to full speed more quickly for better system response to high utilization scenarios. GIGABYTE enhanced the Enhanced Multi-Core Performance setting that forces all cores to run at the Turbo Boost 3.0 speed, instead of just two cores. This functionality is disabled when set to Auto and must be set to Enabled to become functional.
Classic mode, M.I.T. tab, Advanced Voltage Settings page

Classic mode, M.I.T. tab, Advanced Voltage Settings, CPU Core Voltage Control page
The CPU Core Voltage Control page, accessed via the the link on Advanced Voltage Control Settings page, houses CPU-specific voltage settings for all CPU-integrated subsystems. Intel X-series CPU-specific settings include the CPU Mesh Voltage option, which controls the voltage for the mesh-based processor interconnect architecture.

Classic mode, Peripherals tab
The Peripherals tab centralizes control settings for all motherboard integrated components (read as non-CPU). New additions to this page, introduced by GIGABYTE to the HDET platform with the X299 chipset UEFI, include the RGB Fusion settings for fine-grain control over the integrated RGB LEDs.

Classic mode, Peripherals tab, RGB Fusion page
The RGB Fusion settings page, access from the link on the Peripherals tab, give the user a graphical interface from which to configure operating mode and color of the board's integrated RGB LEDs as well as RGB/RGBW LED strips connected to the RGBW 12V header. The UEFI integrated interface allows for setting the LED activity to one of five modes as well as in a multitude of colors. Supported modes included Pulse Mode, Color Cycle, Static Mode, Flash Mode, and Double Flash.

Classic mode, Peripherals tab, SATA And RST Configuration page

Classic mode, Peripherals tab, SATA And RST Configuration page, iRSTe settings
With the X-series processors and X299 board line, GIGABYTE exposed additional Intel RAID-based functionality to support the VROC functionality integrated into the processors and chipset. The SATA Mode Selection setting was further enhanced with a setting for Optane-enabled RAID mode (named Intel RST With Intel Optane System Acceleration) with an Optane-enabled M.2 drive installed into one of the on board M.2 ports.


Why is CPU-Z showing 1.92
Why is CPU-Z showing 1.92 vcore @4601MHz – this can’t be accurate. What gives?
CPU-Z is having issues with
CPU-Z is having issues with reading the correct vcore for SKY-X. It is instead reading VccIN which is fed to the FIVR (fully integrated voltage regulator) and will translate into the correct set vcore.
KBL-X doesn’t have FIVR so vcore will be fed directly to the cpu. This is how the switch works between the two vastly different cpus.
HWInfo v554 works well for
HWInfo v554 works well for giving actual voltages and other info. Can be found here:
https://www.hwinfo.com/download.php
I would be leary of this
I would be leary of this board with it’s single 8 pin CPU power as the warning about such boards applies here. My question then though, is that I’ve seen several X299 boards with the 8 pin + 4 pin CPU power and wonder if that’s enough juice to run the VRMs at acceptable temperatures?
They fixed the VRM heat on
They fixed the VRM heat on this model ?
Those CPU seem to require hefty custom liquid cooling, and this eliminate airflow around the socket.
Where the VRM are under heavy stress, and covered with a “heat shield” vs heat sink.
I have a feeling that if you run this board in a closed case overnight running prime95 (small) the PCB will start to degrade around the VRM
All the new X299 mobos have
All the new X299 mobos have the “heat insluator” VRM heatsink issue right now.
Give it a few months and I’d expect it to be sorted.
Fixing the 8 pin connector overheating issues will be harder and take longer I’d expect but is addressable by the end user with a fan or just good case airflow. Still it’d piss me off HAVING to do that stuff on a platform this expensive.
I don’t think it makes much sense at all to buy X299 right now unless you’re rich enough that $300+ is pocket change for you and can easily afford to re-buy parts with fixed issues as they’re released.
Even if you hate AMD and really want X299 now it makes more sense for Threadripper to show up since maybe it’ll end up causing Intel to drops prices some.
As long as you have active
As long as you have active airflow over the VRM sink, you should be ok. That's what I found at least. It doesn't take much airflow either.
Yes I’ve seen other such
Yes I’ve seen other such commentary saying essentially the same thing too but that seems rather half assed to do by default on something as expensive as this platform is. Its the straw breaking this particular camel’s back.
Why be a for-pay beta testing early adopter on a expensive platform now when you can wait a few months and any issues will be fixed for possibly less too?
If Intel had kept the prices down more in general on the chips, done a better IHS, and done some more sane “entry level” X299 CPU’s I’d be forgiving, price and implementation quality matter a whole lot I think, but they half assed all of that so I don’t see why I or anyone should try and meet them half way here.
If it naturally gets that hot
If it naturally gets that hot because of inadequate design, superficially cooling it with fans likely wont be a good long term solution. It would more than likely still fail prematurely.
Not a EE here but all
Not a EE here but all commentary by people who know their stuff suggests the VRM design isn’t bad per se its just the cooling for it was implemented in a piss poor manner that emphasized cosmetics over effectiveness.
Personally I wouldn’t mind going back to the days when mobos only had stuff like colored slots or a non green colored PCB instead of all these LEDs if it meant getting better VRM cooling.
Something like you used to see on the GIGABYTE P35T-DQ6 would be nice to have today now that VRM space is getting cramped due to the large sockets and number of DIMMs on these boards taking up valuable near socket real estate.
Just too much stuff in too small a space putting out too much heat to deal with in the same old crappy manner that they used to be able to get away with on X99 or 270 mobos.
Why are the BIOS settings
Why are the BIOS settings screenshots showing widely off settings? Would’ve been really helpful to show the actual settings used to achieve the overclock – because I’m struggling to get it to work on my Aorus G9 and this might have helped.
For UEFI, I show the max
For UEFI, I show the max settings available in the screencaps.
For the OC, I used the following settings with my 7900X proc:
47 multiplier (CPU)
47 multiplier (Turbo per core)
30 multiplier (Mesh)
100 base clock speed
Mem speed 3000MHz (wouldn't go above that and remain stable)
AVX offset set to 1
VRin – 1.9V
CPU Voltage – 1.26V
Memory Voltage – 1.355V
Mesh Voltage – 1.20V
Enhanced Multicore Performance Enabled
All other settings auto
Hope that helps…
I love you, Morry.
I love you, Morry.
Disappointed they have
Disappointed they have removed the Optical SPDIF output from this $300 motherboard. There is probably a SPDIF header on the motherboard at some location but this will require another card to provide this functionality. There probably arent enough people who use this output to a receiver but its nice to have nonetheless and kind of a cheap move to not include it.
How come he doesn’t mention
How come he doesn’t mention temperatures or power draw? He blames AVX for overclocking problems: “the CPU speed was downclocked to 4.4-4.5GHz with AIDA64 running because of a bug with the AVX code in the BIOS version used for testing.” So why would AVX cause it to downclock? I have read that the AVX circuits are a tremendous heat generator.
We are not getting the full story.
The oc problem was an AVX
The oc problem was an AVX issue with the BIOS. The BIOS would auto downclock the core speed with AVX instructions activer (such as those that run during my AIDA stress testing run). GIGABYTE confirmed this behavior and I have been working with them for a solution. I have not seen this behavior on other X299 boards (like the MSI X299 Gaming M7 ACK that I'm in the process of testing). On the MSI board, all cores run at the same speed while overclocked no matter what stress app I throw at it.
I included HWInfo in the full screen cap of the overclock so that you could see the per core speed vs the core speed that CPUz reports.
Thanks…
279$ no thanks.. ill stick
279$ no thanks.. ill stick with 270 chipset.