
UEFI Features
GIGABYTE bundled the latest version of their UEFI (Unified Extensible Firmware Interface) implementation with the Z390 AORUS Pro motherboard, offering full keyboard and mouse support while using the UEFI pages. By default, the user sees the "Easy Mode" interface when entering the UEFI but "Classic Mode" screens are accessible via the Classic button at the upper right corner of the screen or by hitting the F2 function key. Classic mode can be set as the default user interface via the UEFI BIOS tab as well.
GIGABYTE's UEFI is both responsive and easy to use with almost no lag or questionable click-space evident anywhere. The UEFI is designed in an intuitive manner so that both novice and advance users can quickly find what they are looking for. The Easy Mode screen lays out everything in a highly readable format, while the Classic mode tabbed layout offers what you would expect from a traditional BIOS interface. GIGABYTE also gives you the ability to take screen captures from within the BIOS by pressing the F12 key. Those screen-caps are saved in a 1024×768 bitmap format to an attached USB device.
UEFI Notable Features
GIGABYTE continues to revise and enhance their UEFI interface, exposing new features specific to the Intel Z390 chipset. Improved features include a graphical fan tuning interface, a full featured LED configuration interface (RGB Fusion), a graphical BIOS flash interface, a Favorites interface for centralized management of heavily used setting, as well as several functional enhancements specific to the Intel Z390 chipset and Intel Coffee-Lake processor lines.

Easy Mode interface
The Easy Mode interface organizes system data and settings into tiles across the page in an easy-to-read manner for those users who do not want to be bothered with the labyrinth of the Classic mode tabbed interface. Most commonly used settings, including boot sequence, EZ OC, and smart fan, are readily accessible from within the Easy Mode page.

Classic mode interface, M.I.T. tab
The Classic mode interface offers advanced users access to the more traditional tabbed interface with its logically grouped system settings and configuration features. GIGABYTE enhanced this interface with a side slide-out menu. The side slide-out menu displays real-time system statistics, including CPU, memory, and voltage settings.

Q-Flash settings page
The Q-Flash settings page gives the user a GUI for updating the board's BIOS as well as saving the current BIOS to an attached USB device. The Q-Flash configuration page is accessed by clicking on the Q-Flash button in the pop out menu within the Classic mode interface or pressing the F8 function key.

Smart Fan 5 configuration page
The Smart Fan 5 configuration page allows for graphical configuration of fan operation based on predefined threshold levels. The page offers an easy to use visualization with settings available for tiered fan speeds based on temperature thresholds, as well as temperature-based warning and fan fail warning configuration. The Smart Fan configuration page is accessed by clicking on the Smart Fan button in the pop out menu within the Classic mode interface or the Smart Fan 5 tile in the lower right corner of the Easy Mode interface.

Classic Mode, Save & Exit tab, Save Profiles popup
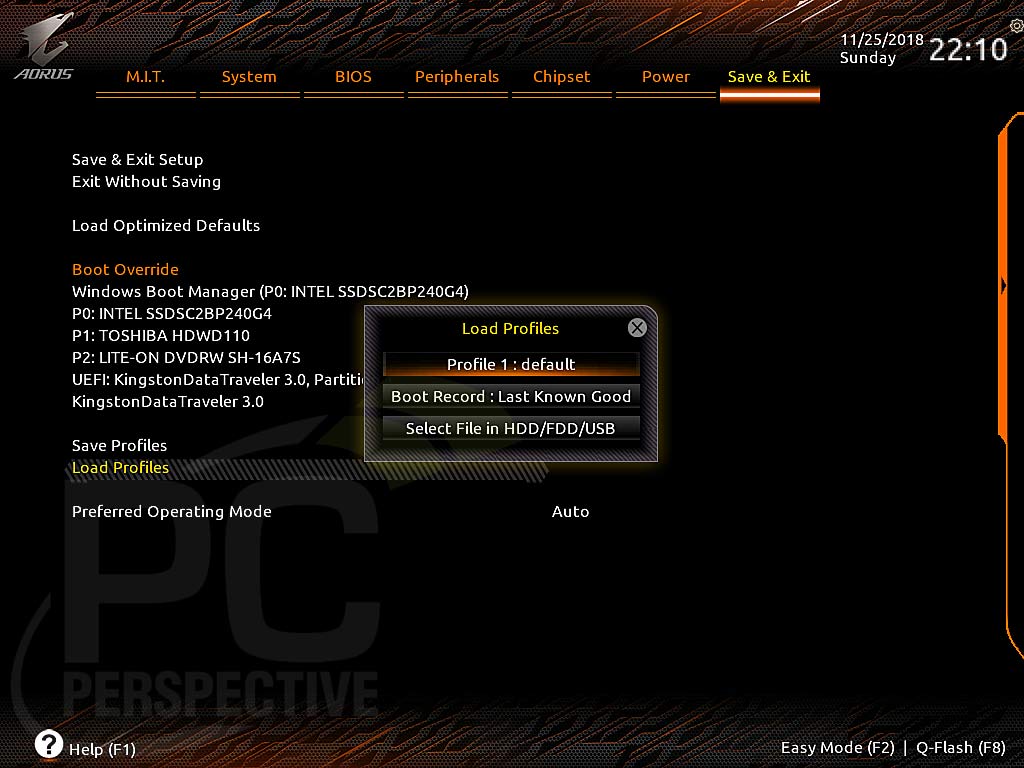
Classic Mode, Save & Exit tab, Load Profiles popup
GIGABYTE allows for storing up to eight UEFI profiles through the Save Profiles and Load Profiles functions within the Save & Exit tab in the Classic mode interface. The saved profiles contain all user configured settings from the UEFI, and can be saved to or restored from any attached storage device. The Save Profiles popup can be accessed by pressing the F3 function key. The Load Profiles popup can be invoked by pressing the F4 function key.

Classic mode, M.I.T. tab, Favorites page
The Favorites page accessed from the link on the M.I.T. tab, or by pressing the F11 function key, acts as an easy access area housing a user's selected UEFI settings. Settings can be added to the page by pressing the Insert key with the option highlighted on its original page. The settings can be removed from the Favorites page by pressing the Insert key with the option highlighted on the Favorites page.

Classic mode, M.I.T. tab, Advanced Frequency Settings page
The Advanced Frequency Settings page accessed from the link on the M.I.T. tab houses the settings controlling the CPU and memory ratio settings. GIGABYTE enhanced this page with processor-friendly settings within the CPU Upgrade option, including the 5.0GHz overclock option offered by default through this setting.

Classic mode, M.I.T. tab, Advanced Frequency Settings page, Advanced CPU Core Settings page

Classic mode, M.I.T. tab, Advanced Frequency Settings page, Advanced CPU Core Settings page continued

Classic mode, M.I.T. tab, Advanced Frequency Settings page, Advanced CPU Core Settings page continued
The Advanced CPU Core Settings page, accessed via the the link on Advanced Frequency Settings page, contains Expert-level CPU settings, including the Flex Ratio and Turbo ratio control settings. Introduced for the processor lines is the AVX Offset setting, giving the user the ability to reduce the CPU core ratio when running programs using the AVX instruction set. This is to reduce processor heat since AVX processing is one of the most processor-intensive operations. GIGABYTE also exposed the Turbo Per Core Limit Control settings, allowing for more granular control of the maximum Turbo ratios on a per core basis when used in conjunction with the base Turbo Boost Technology settings.

Classic mode, M.I.T. tab, Advanced Voltage Settings page

Classic mode, M.I.T. tab, Advanced Voltage Settings, CPU Core Voltage Control page
The CPU Core Voltage Control page, accessed via the the link on Advanced Voltage Control Settings page, houses CPU-specific voltage settings for all CPU-integrated subsystems. Processor-specific settings include the BCLK Adaptive Voltage option, which integrates BIOS-enhanced voltage regulation based on the currently active base clock value.

Classic mode, M.I.T. tab, Advanced Voltage Settings, Internal VR Voltage Control page

Classic mode, M.I.T. tab, Advanced Voltage Settings, Internal VR Voltage Control page continued
The Intenal VR Voltage Control page, accessed via the the link on Advanced Voltage Control Settings page, houses Voltage Regulator-specific settings for all CPU and CPU-integrated GPU related Voltage Regulator settings. These settings can have massive impacts on board stability and performance and should be approached with caution.

Classic mode, Peripherals tab
The Peripherals tab centralizes control settings for all motherboard integrated components (read as non-CPU). New additions to this page include tthe SW Guard Extensions (SGX) setting, and the board integrated LED power state settings. The SW Guard Extensions, previously released by Intel on a limited basis, introduces the ability to create a protected pocket for critical applications using the SGX instruction set to give those applications greater protection from outside attack. Unfortunately, GIGABYTE did not integrate direct RGB LED control into this board's UEFI.

Peripherals tab, Plug in Devices Info page
New to this tab is the Plug in Devices Info page, housing a list of all PCIe connected devices including cards seated in any of the PCIe x16 or x1 slots and drives installed to either of the integrated M.2 slots.

Classic mode, Save & Exit tab, Save & reset / Last Modified popup
GIGABYTE added a change tracking mechanism to the UEFI save function via the Last Modified section in the Save popup. All UEFI settings modified by the user since the last boot are listed under the Last Modified section with both the original setting and the new setting displayed for the user to review.
UEFI Walkthrough – Classic mode interface
M.I.T. tab
The M.I.T. tab houses various sub-tabs and settings for controlling motherboard performance settings. Fan configuration functionality via the Smart Fan 5 GUI is accessed via the link on the main tab. The other settings are logically divided up between the five sub-tabs – Advanced Frequency Settings, Advanced Memory Settings, Advanced Voltage Settings, PC Health Status, and Miscellaneous Settings.
M.I.T tab

M.I.T tab, Advanced Memory Settings page

M.I.T tab, Advanced Memory Settings, Channel A/B Memory Sub Timings page, Standard and Advanced Timing Control settings
M.I.T tab, Advanced Voltage Settings page

M.I.T tab, Advanced Voltage Settings, Advanced Power Settings page

M.I.T tab, Advanced Voltage Settings, Chipset Voltage Control page

M.I.T tab, Advanced Voltage Settings, DRAM Voltage Control page

M.I.T tab, PC Health Status page

M.I.T tab, Miscellaneous Settings page
System Information tab
The System Information tab displays board model and BIOS version information, as well as housing the language selection and system time and date settings.

System Information tab
BIOS tab
The BIOS tab houses BIOS security and boot up settings, drive access priority settings, as well as Windows 10 CSM and secure boot settings.

BIOS tab
Peripherals tab
The Peripherals tab houses settings on the main page and within sub-tabs for controlling the various subsystems and devices integrated into the motherboard, like the PCIe M.2 slots, SATA ports, USB slots, etc. The EZ Raid link from the main tab allows the user to setup a RAID array via an easy to use wizard-type interface.
Peripherals tab
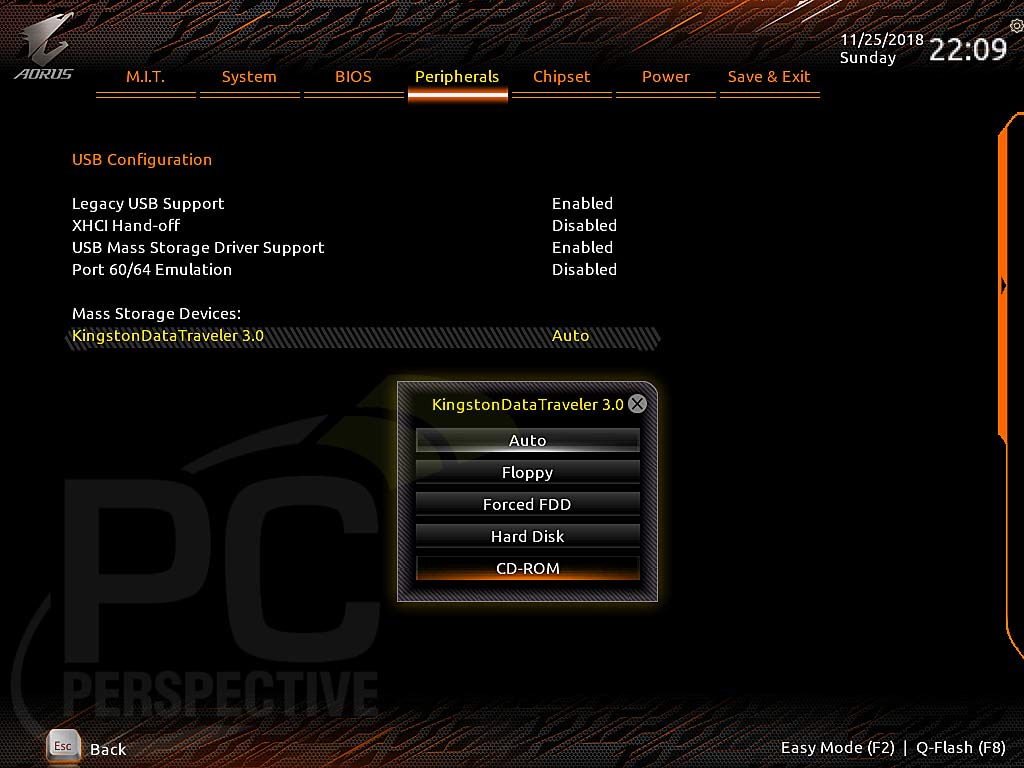
Peripherals tab, USB Configuration page

Peripherals tab, Network Stack Configuration page

Peripherals tab, SATA and RST Configuration page

Peripherals tab, Intel(R) Ethernet Connection page
Chipset tab
The Chipset tab houses configuration settings controlling chipset-specific features like CPU virtualization and graphics, audio control, and the integrated LAN controller settings.

Chipset tab
Power tab
The Power tab houses settings for all motherboard-related power features like wakeup, power loss, and power button settings.

Power tab


Unfortunately, GIGABYTE did
Unfortunately, GIGABYTE did not integrate direct RGB LED control into this board’s UEFI.
The ability to switch off LED’s in the UEFI is nice though. Not having to run a buggy app that requires administrator privileges and installs firewall exceptions (looking at you MSI) is a pleasant change.
The Z390 AORUS Pro features a
The Z390 AORUS Pro features a matte black PCB, armored rear panel assembly, and an integrated rear panel shield.
showbox